How to record audio from any website on Mac

Useful audio does not only live in meeting apps. It can be a course page, webinar replay, product demo, research interview, podcast player, internal training, or a web app that plays audio inside the browser. The problem is that browser audio is easy to hear in the moment and easy to lose afterward. If you need notes, a searchable transcript, or a source file you can keep with a project, record the audio locally before you turn it into text.
Short answer
To record audio from a website on Mac, decide first whether you need the video or only the sound. If audio is enough, use a local recorder that captures microphone and system audio, start recording before you press play, stop when the useful section ends, then save the source audio with the transcript and summary.
This workflow is most useful when the site does not provide a download, the transcript is missing or hard to export, the replay may disappear, or you need the recording in your own project folder instead of inside the website's account.
Start with the artifact you need
A website can contain many kinds of audio: a webinar, online course, product demo, support portal recording, research interview, podcast player, voice room, or training module. The right capture method depends on what you need after playback.
If you need the visual state of the page, use a screen recording. If you need a searchable transcript, meeting-style summary, quote check, or reusable AI context, record the audio first and keep the source file beside the text outputs.
- Use a screen recorder when the visuals are the main artifact.
- Use a platform transcript when it is accurate, exportable, and available long enough.
- Use a local audio recorder when the goal is source audio, transcript, summary, and later reuse.
Why website audio is awkward on Mac
Browser audio is not tied to one clean meeting workflow. It may come from Safari, Chrome, a course platform, a webinar room, a media player, or a private web app. Some tools only work inside specific platforms. Others require a meeting bot, host controls, a browser extension, or an audio-routing setup that you have to maintain.
A recorder-first workflow is simpler: if the sound is playing on your Mac and your setup is allowed to record it, capture it locally. That keeps the workflow independent from the website's own export options.
- No meeting bot has to join the session.
- No host or organizer permission is required from a meeting platform recorder.
- The workflow works beyond calendar meetings: websites, videos, lectures, courses, demos, and quick dictation.
- The original audio stays available if a transcript or summary misses an important detail.
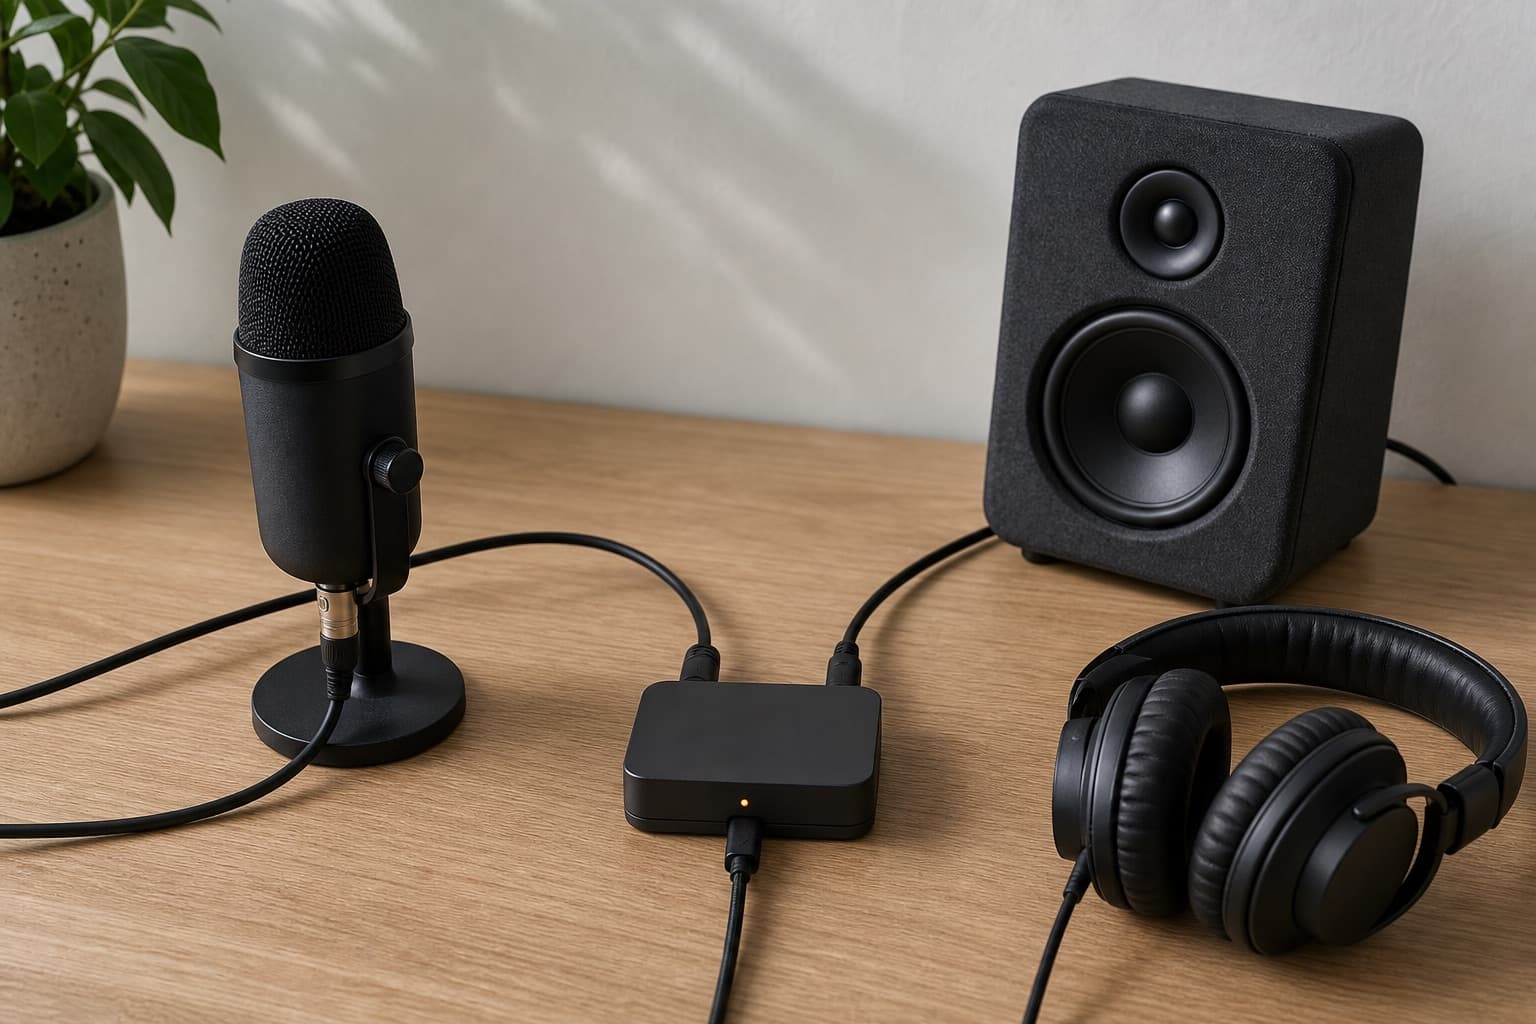
Set up a local recorder before playback
Set up the recorder before the audio starts. With Transcrio, download the Mac app, sign in, and complete the macOS permissions for microphone and system audio capture. This is a one-time setup you do before relying on it for a live webinar, class, or time-limited replay.
For website audio, the important setting is system audio capture. The microphone matters when you also want your own spoken notes or questions in the same recording. If you only need the website sound, keep the room quiet and record the Mac audio cleanly.
- Open the website and confirm the audio plays through the Mac output you plan to use.
- Open Transcrio from the macOS menu bar.
- Check that transcription and summary are enabled if you want text after recording.
- Keep the Mac awake for longer sessions.
- Make sure you have enough local disk space for the source audio file.
See the Transcrio workflow
From recording on a Mac to a local transcript and summary.

Take a 1-minute interactive tour — no signup required.
Open in a new tabRecord the website audio
Start recording before you press play or before the useful section begins. Then use the website normally: play the webinar, course lesson, audio player, demo, or browser-based call. You do not need to invite a bot, install a meeting add-on, or become the organizer of anything.
When the useful audio ends, stop recording and let the app save the session locally. For long replays, record only the sections you actually need. Smaller recordings are easier to review, search, and turn into useful notes.
- Avoid changing headphones or output devices mid-recording unless you have tested that path.
- Do a short test before a live session or paid course replay.
- If the internet drops, protect the local recording first; processing can happen after the connection returns.
- Stop promptly when the useful section ends so the transcript stays focused.
Turn the recording into useful text
The recording is only the raw material. After the session is saved, use the transcript for search and verification, then use the summary to turn long audio into something you can act on.
Transcrio keeps the source audio and generated text files on your Mac. When transcription or summary is enabled, the recording is processed temporarily for that job; Transcrio does not keep your audio, transcripts, or summaries as long-term product storage.
- Keep the original audio when exact wording or tone may matter.
- Use the transcript to search names, terms, quotes, examples, timestamps, and instructions.
- Use the summary to extract decisions, concepts, follow-up items, study notes, or a draft outline.
- Store all outputs under the same course, client, research, or project folder.
Compare common options
There is no single best way to capture browser audio on Mac. The right choice depends on whether you need convenience, video, source files, or text outputs.
Use the website's own download or transcript when it exists and solves the job. Use a screen recorder when the visual walkthrough matters. Use an audio-routing tool if you are comfortable maintaining a more technical setup. Use a local recorder when the output you care about is the audio plus transcript and summary.
- Platform download: best when the site already provides a clean file or transcript.
- Screen recording: best when visual context is essential.
- Audio-routing setup: flexible, but more fragile and harder to explain to non-technical users.
- Local recorder: best when you need a repeatable way to capture Mac audio and reuse the text later.
Example workflows
For a webinar replay, record the sections where the speaker explains pricing, implementation steps, objections, or customer examples. Then ask the summary for decisions, caveats, and follow-up questions.
For an online course, record the lesson audio and turn the transcript into study notes, definitions, and a review checklist. For a product demo, keep the audio beside the project notes so you can search exact claims later instead of replaying the full session.
- Founder or operator: turn webinar audio into market notes and follow-up questions.
- Student or researcher: turn course audio into searchable study material.
- Product manager: save demo audio beside specs, decisions, and customer context.
- Support or success team: keep training audio and transcript in the same knowledge folder.
What to keep after recording
Do not keep every artifact forever by default. Decide what will actually be useful. For some website audio, the summary is enough after you verify it. For important work, keep the original audio, transcript, and summary together so you can return to the source.
A practical naming pattern helps more than a complicated database. Use the date, source, and topic in the filename or folder name so Finder, local search, and AI tools can find the material later.
- Keep audio when verification matters.
- Keep transcript when search matters.
- Keep summary when review speed matters.
- Delete recordings that no longer have a clear purpose or right to be stored.
Next steps
FAQ
Can I record audio from any website on Mac?
If the sound plays on your Mac, a local recorder can capture the Mac audio path. You still need the right to record and store that website audio for your situation.
Do I need to record the screen too?
Only if the visuals matter. If your goal is notes, search, or a summary, audio plus transcript is usually cleaner and easier to reuse than a full screen recording.
Does this work for webinars, courses, and web apps?
Yes, the same workflow fits browser-based webinars, course lessons, audio players, demos, and web apps, as long as the audio is playing on your Mac and recording is appropriate for the context.
What happens if the internet drops while recording?
A local-first workflow should preserve the source audio first. Upload, transcription, and summary can wait until the connection is stable again.
What files should I keep after recording website audio?
For important recordings, keep the original audio, transcript, and summary together. For lower-value recordings, keep only the artifact you will actually use and delete the rest when it no longer has a purpose.