Record Microphone and System Audio on Mac at the Same Time
Published · Updated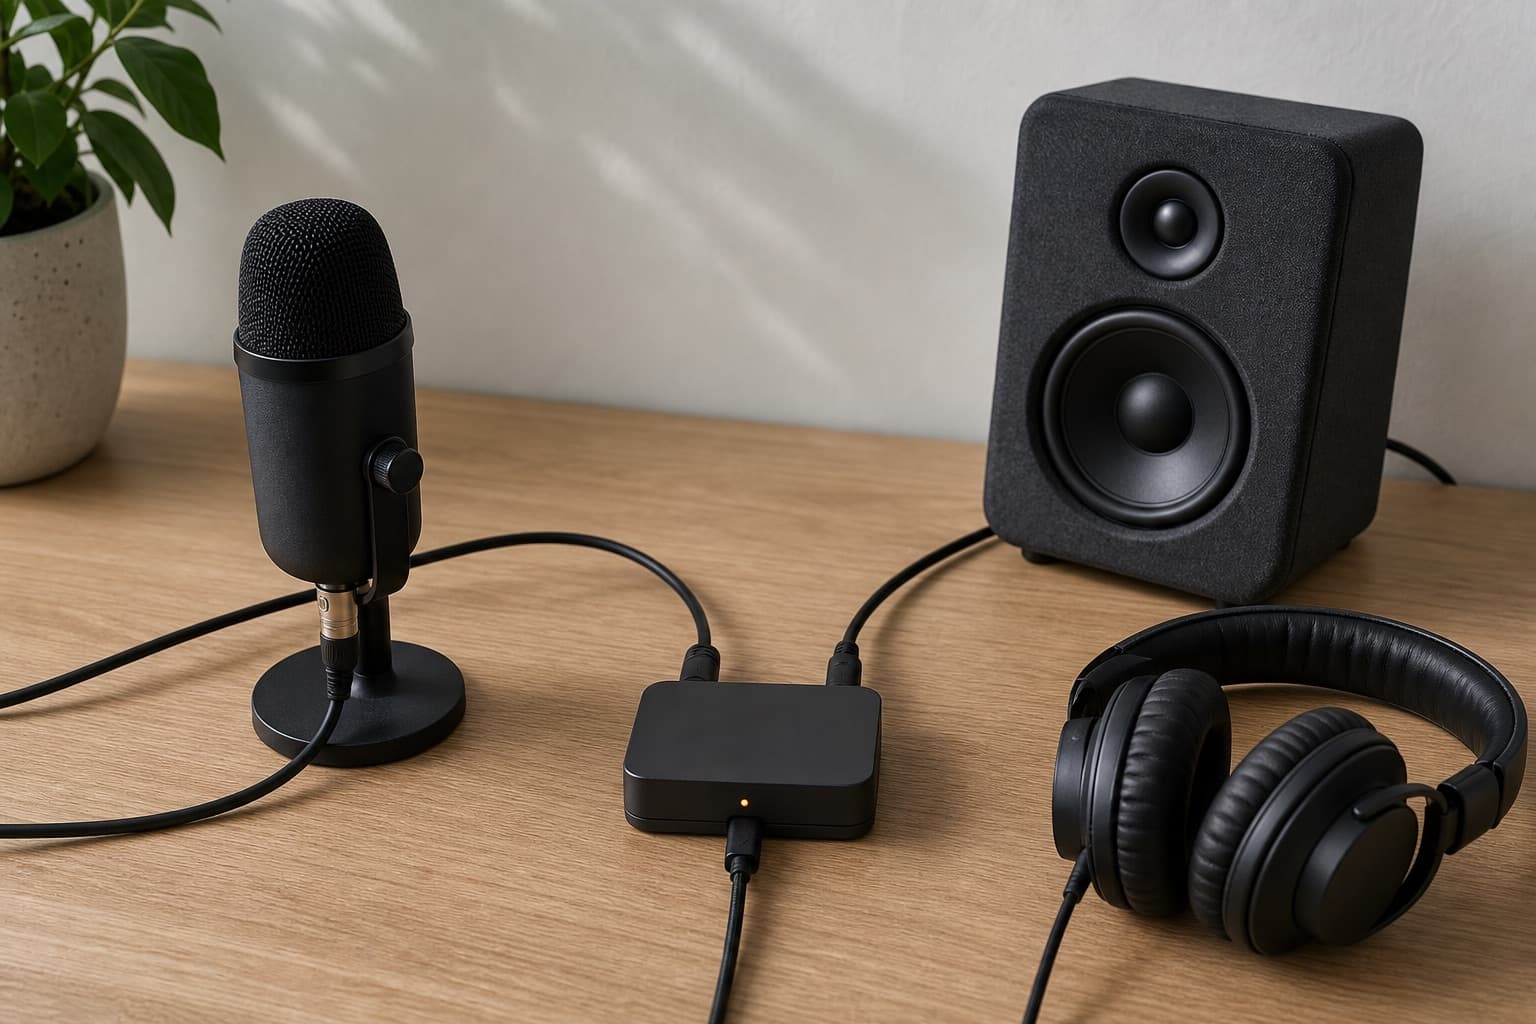
A microphone recording gives you your side of a conversation. It does not automatically include the people speaking through a call app, a video playing in the browser, or any other sound coming from the Mac. For a complete audio record, you need two sources at once: the microphone and the Mac's system audio.
Short answer
To record microphone and system audio on Mac at the same time, use an app that captures both sources directly. You do not need to build a BlackHole Aggregate Device when the recorder can capture both sources itself. Download Transcrio for Mac, grant Microphone access for your voice and Screen & System Audio Recording access for sound from calls, browser tabs, videos, and other apps, then make a short test before the real session.
Use a screen recorder when the picture matters. Use an audio-routing tool when another app needs to receive the sound as an input. If the result you want is an audio file, transcript, or summary, an audio-only recorder is the shorter path.
Know which source records what
Microphone audio is the sound entering the selected input device: your Mac's built-in mic, a headset, a USB microphone, or an audio interface. On a call, this is normally your side of the conversation.
System audio is the sound the Mac plays from apps. That includes the other people in Zoom, Google Meet, Teams, or FaceTime-style calls, plus browser audio, videos, webinars, media players, and app sounds. Recording only one source leaves half the job unfinished.
- Microphone only: your voice is present, but remote speakers may be missing.
- System audio only: remote speakers are present, but your voice may be missing.
- Microphone plus system audio: both sides can be kept in one synchronized recording.
Why the built-in Mac recorders do not cover the full job
QuickTime Player can make an audio-only recording, but Apple's recording options ask you to choose a microphone. Voice Memos works the same way: it records from the built-in microphone, a headset, or another input. Neither gives you a direct microphone-plus-system-audio setup for calls and app playback.
That does not mean macOS prevents system-audio recording entirely. Current macOS versions let approved apps capture it, but the user must grant a separate privacy permission. The wording can appear as Screen Recording or Screen & System Audio Recording, depending on the macOS version.
Allow microphone and system audio recording on Mac
Microphone and system audio use separate macOS permissions. Open Apple menu > System Settings > Privacy & Security. Under Microphone, allow the recorder to use your selected input. Under Screen & System Audio Recording, allow it to capture sound from calls, browser tabs, videos, and other apps. Apple documents the system-audio permission and the separate microphone permission.
If you changed either permission while the recorder was open, quit the app completely and reopen it before testing. Permission only lets the app reach a source; it does not confirm that the right microphone is selected or that both sources contain sound. A short test recording is still the fastest check.
- Microphone permission: allows the built-in mic, headset, USB mic, or audio interface you select.
- Screen & System Audio Recording permission: allows sound playing from Mac apps without requiring a screen video.
- App restart: applies a changed permission when macOS or the recorder requests it.
- Test recording: confirms that permission, source selection, and saved audio all work together.
Choose direct capture, screen recording, or audio routing
Start with the result, not the tool. A product demo with cursor movement needs video. A podcast edit may need separate tracks and detailed gain control. A customer call you want to search next week may only need the source audio, transcript, and summary.
Direct capture means the recorder reads microphone and system audio itself. It avoids installing a virtual driver or building an Aggregate Device when the job is simply to save both sources. BlackHole and Loopback still make sense when another app must receive the audio as an input, while a screen recorder is the right choice when the picture matters.
- Platform recording: best for an official shared meeting copy when the organizer can provide it.
- Screen recording: best when slides, cursor movement, or visual state must be preserved.
- BlackHole, Loopback, or an OBS setup: best when you need routing, streaming, editing control, or audio delivered into another app.
- Audio-only local recorder: best when the useful result is source audio and optional text files.
Set up Transcrio to capture both sources
Install Transcrio on a Mac running macOS 15 or newer, open it from the menu bar, and sign in. Complete this before a live call. The full setup guide covers installation and recovery if macOS does not show a permission again.
After both macOS permissions are on, open Transcrio Settings and choose the microphone you actually use for calls. If a permission is enabled but one source is still silent, use the setup guide linked above for recovery steps.
Open Settings and choose the microphone you actually use for calls. Turn on Keep separate mic/system source files while testing. Leave Prevent Mac sleep during recording enabled for longer sessions. Keep Transcribe after recording on when you want text afterward; turn it off when you only need local audio and do not want to spend transcription minutes.
- Microphone: select the built-in mic, headset, USB mic, or interface you intend to use.
- Separate files: keep this on until you have verified both sources independently.
- Transcription: enable it only when the session should become a transcript and summary.
- Sleep prevention: leave it on unless you have a specific reason not to.
See the Transcrio workflow
From recording on a Mac to a local transcript and summary.
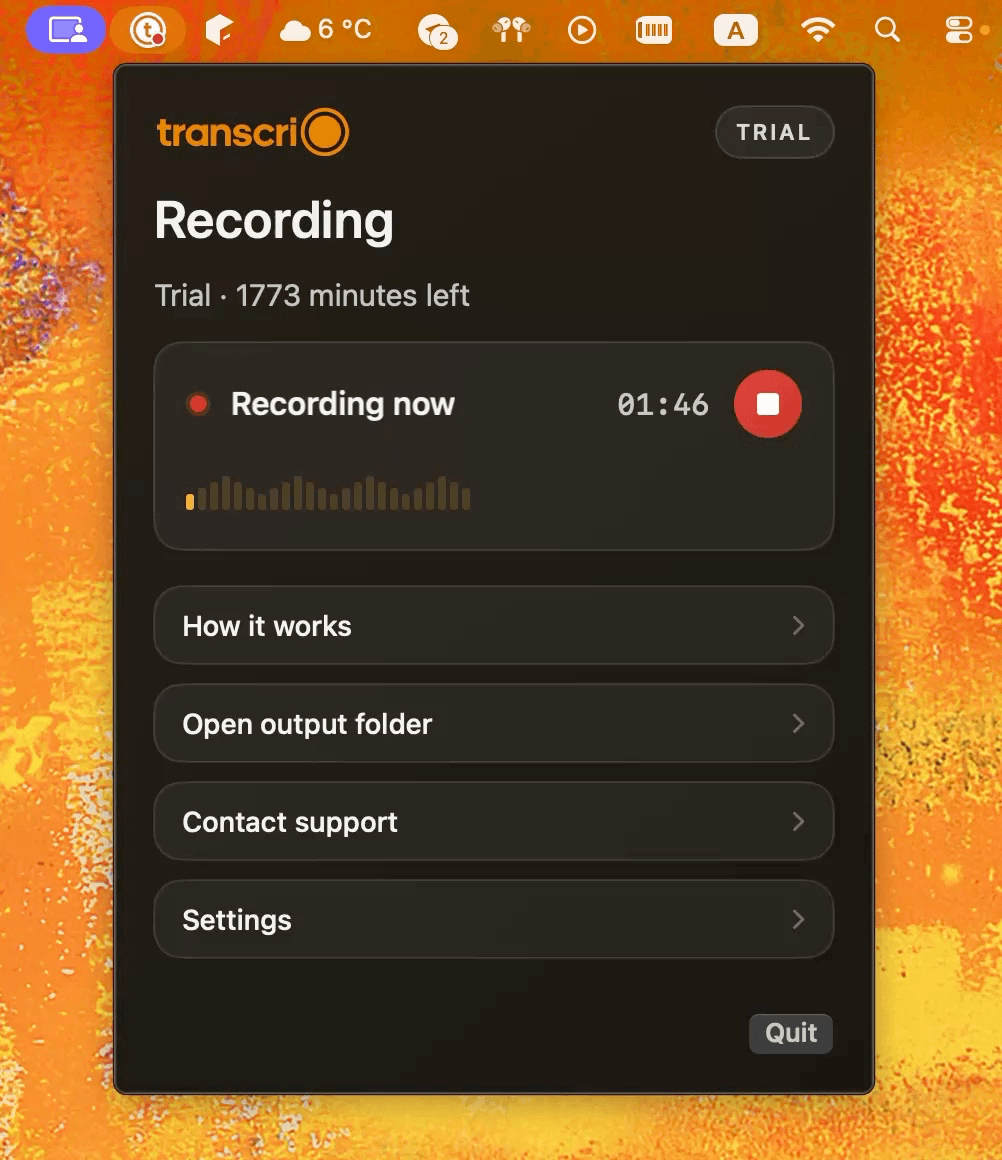
Take a 1-minute interactive tour — no signup required.
Open in a new tabRun a 20-second test before the real recording
Do not use an important call as the first test. Put on headphones, play a short spoken clip in the browser, start recording, and say a sentence into the selected microphone. Stop after about 20 seconds.
Open the new session folder. Listen to recording_stereo.m4a first. With separate source files enabled, also check raw_mic.m4a and raw_system.m4a. The mic file should contain your test sentence. The system file should contain the browser clip. This catches a wrong microphone or missing permission before it costs you a real conversation.
- Use headphones so the microphone does not pick up the speakers and create an echo or duplicate voice.
- Keep the same input and output devices you will use during the real session.
- If one source is silent, fix it and repeat the short test instead of guessing.
Record the call, lecture, or browser audio
Start Transcrio just before the useful audio begins. Use the call app, browser, or media player normally, then stop when the useful section ends. There is no meeting bot to invite and no platform-specific recording button to find. If you are choosing a setup for recurring classes, compare the lecture transcription options before the next session.
Avoid switching between speakers, wired headphones, AirPods, displays, or audio interfaces during the recording. A device change can interrupt the capture path. For a long session, keep the Mac connected to power and confirm that sleep prevention is enabled.
Understand the files after you stop
Every completed session keeps recording_stereo.m4a as the main local recording. It is an AAC .m4a file at 128 kbps, with microphone audio on the left channel and system audio on the right channel. If Keep separate mic/system source files is enabled, the folder also keeps raw_mic.m4a and raw_system.m4a.
When transcription is enabled, Transcrio uses the stereo recording for processing and saves transcript.txt, transcript.json, summary.txt, and session_note.txt locally as those steps finish. Processing is not fully offline. Transcrio uses temporary backend and provider handling for transcription and summary, but does not keep the audio, transcript, or summary as long-term product storage.
- Keep the original audio when exact wording, tone, or verification may matter.
- Use the transcript for search and detailed review.
- Use the summary for decisions, tasks, questions, and follow-up.
- Keep separate source files when you may need to inspect one side of the recording on its own.
Fix the common failures
A silent recording usually has a concrete cause. Check the missing source instead of reinstalling everything at once.
- System audio is missing: allow Transcrio under Privacy & Security > Screen & System Audio Recording, then fully reopen the app if macOS requests it.
- Your voice is missing: confirm Microphone permission and select the correct input in Transcrio Settings.
- Remote voices sound doubled: use headphones so the mic does not record the speakers as well as the system-audio source.
- The recording stopped after a device change: keep one tested audio input and output for the whole session.
- The internet dropped: keep the local source file in place. Transcrio can queue transcription and retry after the connection returns.
When another tool is the better choice
Transcrio is built around saved audio and reusable text, not screen production or pro audio routing. Use the simpler recorder path only when it matches the artifact you need.
Use a screen recorder when the picture matters. Use OBS for scenes or streaming. Use BlackHole or Loopback when another app needs a virtual input. The Soundflower replacement guide separates an older virtual-device setup from direct recording. The Audio Hijack comparison covers advanced Mac audio capture and fully local transcription. The MacWhisper comparison covers local transcription models, imported files, and a configurable text workflow. For meeting notes, the Granola comparison covers live notes, while the PLAUD Desktop comparison covers the extra hardware requirement.
Next steps
FAQ
Can a Mac record microphone and system audio at the same time?
Yes. Use an app that captures both sources and grant it Microphone plus Screen & System Audio Recording permissions in macOS.
Why does Transcrio need Screen Recording permission for audio?
macOS controls access to sound from apps under Screen & System Audio Recording. Transcrio uses that permission for system audio; it does not need to save a screen video.
How do I allow system audio recording on a Mac?
Open System Settings > Privacy & Security > Screen & System Audio Recording, allow the recorder, then reopen it if macOS requests a restart. Microphone access is a separate permission.
Do I need BlackHole to record microphone and system audio together?
Not when your recorder captures both sources directly. Use BlackHole or another routing tool when a different app needs the Mac audio as an input.
Can QuickTime record microphone and system audio together?
QuickTime's audio-only recorder accepts a microphone input. Capturing system audio as well requires an additional routing setup or an app that captures both sources directly.
Does Transcrio keep separate microphone and system audio files?
It can. Enable Keep separate mic/system source files to keep raw_mic.m4a and raw_system.m4a beside the main recording_stereo.m4a file.
Can I record without spending transcription minutes?
Yes, while your trial or paid access is active. Turn off Transcribe after recording. The audio stays on your Mac, no transcription job is created, and no transcription minutes are used.
Does Transcrio transcribe fully offline?
No. Recording is saved locally first, but transcription and summary processing require an internet connection. If the connection drops, the local recording can be queued for processing later.